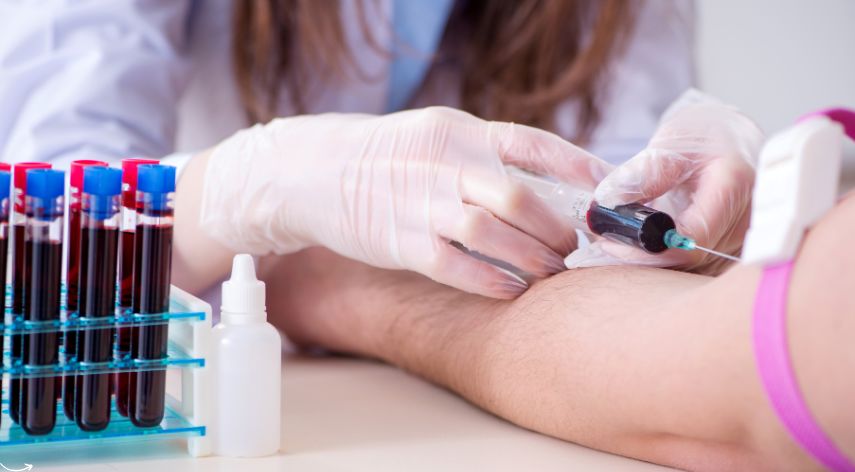
Blood Blogs: What Is in a Stop the Bleed Kit?

A person can lose about fourteen percent of their blood before they start to pass out or suffer further damages. That might seem like a lot, but that figure doesn’t take any of the situational factors into consideration.
For one, trauma and confusion associated with an injury can lead a person to lose consciousness. Many of us faint at the sight of thick blood, preventing us from getting help. So, while you can lose a lot of blood, you increase your risk of collateral damage as you lose more and more of it.
Stop the bleed kits are essential safety tools to have inside of the home or at the workplace. If you have these tools and you know how to use them, you can mitigate a significant amount of the risk associated with wounds and other injuries that cause blood loss.
So, what’s inside a stop the bleed kit?
Table of Contents
ToggleWhat’s Inside of a Stop The Bleed Kit?
Let’s work through all of the essentials of stop the bleed kits so you can get an appreciation of what they are and how they might help you.
The first thing to note is something called a “permanent marker.” This is a device that marks the precise time and stops there to indicate when a particular tourniquet has been applied.
Once the mark is set, it freezes that exact time until the device gets reset again. This is very helpful for medical professionals who might show up at the scene shortly after the bleed kit is used. An exact time lets them know how far along the wound is and what might be happening inside of the body at their time of arrival.
Protective Equipment
Some kits come with masks to protect from airborne pathogens, while all bleed kits should include protective gloves. Bloodborne viruses and pathogens are highly transmissible, especially when a person is releasing a lot of blood.
These gloves are important to use in any instance of severe trauma. Not only are you protected from pathogens, but the wounded person isn’t as exposed to the bacteria that might be on your hands.
Trauma Shears
Trauma shears are effective pairs of scissors that cut through clothing and materials that might be on a person’s body. Instead of having a person take their clothes off to expose a wound, you can just cut through the fabric without forcing them to move.
Moving around too much or jostling while wounded can lead to more blood loss. It’s wise to test your trauma shears when you get the kit. Ensure that they’ll do the job of cutting through cloth at the very least.
Tourniquet
The tourniquet is probably the most important aspect of the entire kit. This is the device that straps around the extremity and prevents excessive bleeding.
Applying a tourniquet is a process that you should look into before issues occur. The idea is to place the tourniquet closer to the heart than the wound so that blood flow isn’t as strong to that area.
For example, if you had a serious wound on your wrist, you would place the tourniquet somewhere closer to your forearm or elbow. Once the tourniquet is in place, you can start to dress the wound.
Gauze
Gauze is there to provide an absorbant and protective layer to the outside of the wound. In most cases, gauze is a square fabric that’s relatively light. You might have to work through one or two pieces of gauze before the wound is clean and bleeding slows.
When the wound is clean, you can place a fresh pad of gauze and hold it there firmly.
Bandage Wrapping
Once the gauze is in place and the tourniquet has been applied, you can use bandage wrapping to the wound. Make sure that the wrapping is firmly applied and puts pressure on the wound. It should hold very tight.
This helps to cauterize the wound and start a blood clot on the surface. If a wound is too thick to start healing before the medical intervention, the bandage will hold it together in a way that prevents it from bleeding excessively.
The idea is to wrap in such a way that the skin closes or approaches closing. Then, when the wrapping gets tied tight, keep checking to make sure that it’s holding.
Stop The Bleed Training and Practice
Note that all of these things aren’t common knowledge. Many of us get our insights about first aid and medical care from movies or books that detail heroic rescues.
The reality of these situations can be shocking and it’s important that you have a clear idea of what’s required in those instances. For that reason, it’s never a bad idea to take a stop the bleed class.
There are stop the bleed certifications available as well. These pieces of training give you the insight you need in order to effectively assess and treat a wound before medical intervention comes. In a lot of cases, stop the bleed procedures are what first responders do when they arrive.
By taking care of that process before anyone comes, you’re expediting the rescue process a good deal and reducing the odds of permanent damage.
Where To Keep Your Stop The Bleed Kit
Note that a stop the bleed kit is similar to a first aid kit, but it’s a little different. A standard first aid kit isn’t as equipped to deal with large wounds as the stop the bleed kit is.
Do your best to have both. Further, keep them in areas that are easily accessible in the home or the workplace. The quicker you can get to these kits, the better the odds of helping your friend or loved one prevent serious injury.
Want to Learn More About First Aid Practices?
Hopefully, the ideas below gave you a better idea of stop the bleed kits and how to use them. There’s more to learn, though. We’re here to help.
Explore our site for more ideas on first aid, stop the bleed kits, emergency practices, general health, and much more.
Alice Christina, a seasoned health writer, combines her passion for wellness with a strong foundation in evidence-based research. She crafts insightful content that empowers readers to make informed health decisions. Alice's expertise shines through her concise and reliable health articles.
Recommended For You
Spread the loveIf you’ve recently had a blood test and noticed ‘eGFR’ on your report, here’s everything you need to
Spread the loveGastroshiza is a rare but serious birth defect that affects the abdominal wall of a developing fetus. While
Spread the loveHealth screening is a vital part of preventive healthcare which plays a crucial role in the maintenance of
Browse by Category
- Travel
- Technology & Gadgets
- Sports & Games
- Software
- Shopping
- Reviews
- Real Estate
- Numerology
- News
- Make Money
- Lifestyle
- Law
- Home Improvement
- Health
- Gardening
- Games
- Finance
- Entertainment
- Education
- Digital Marketing
- Diet and Fitness
- Dating
- Construction
- Celebrity
- Career and Jobs
- Business
- blog
- Angel Number


